Blog-building
本文最后更新于 2025年9月4日 晚上
参考文章
环境准备
Create a personal Blog
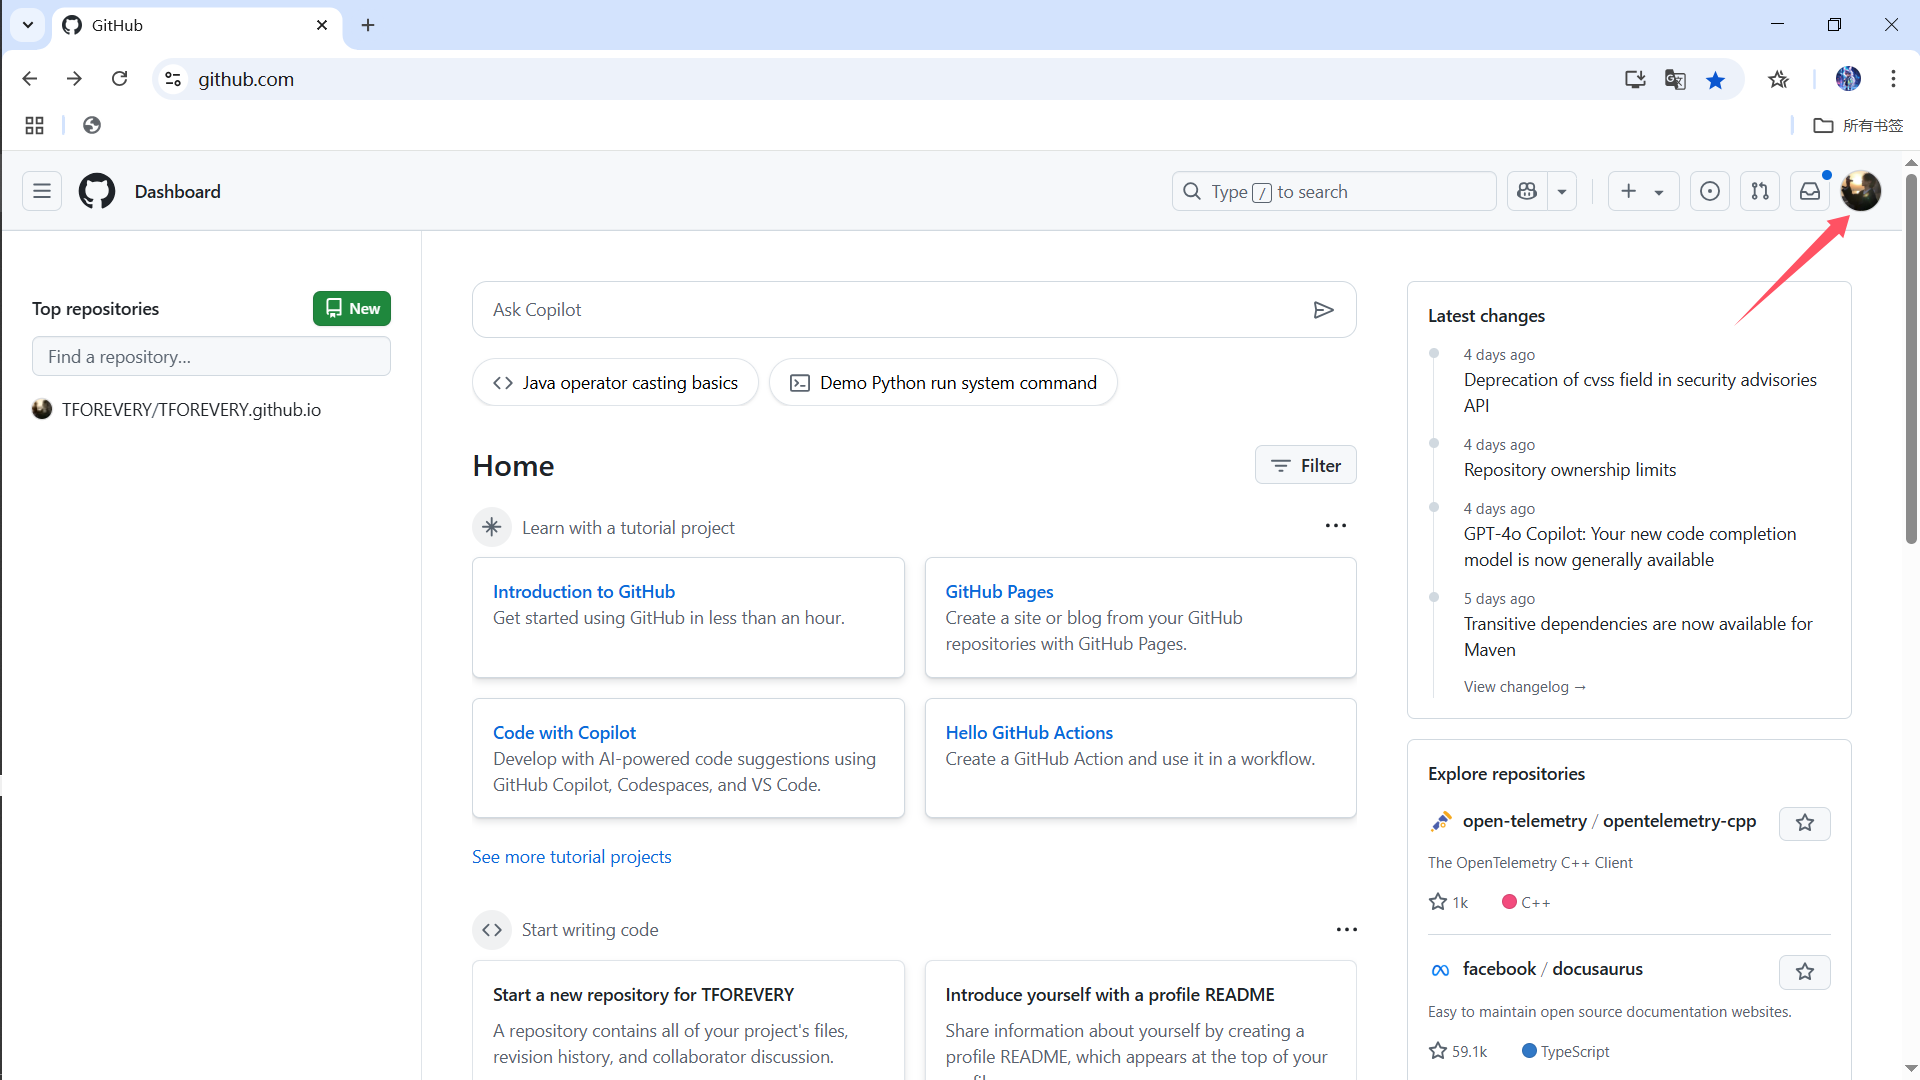
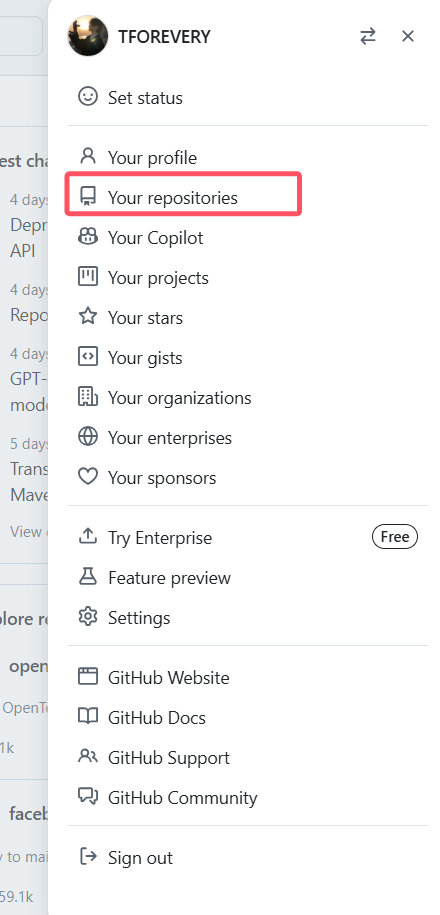
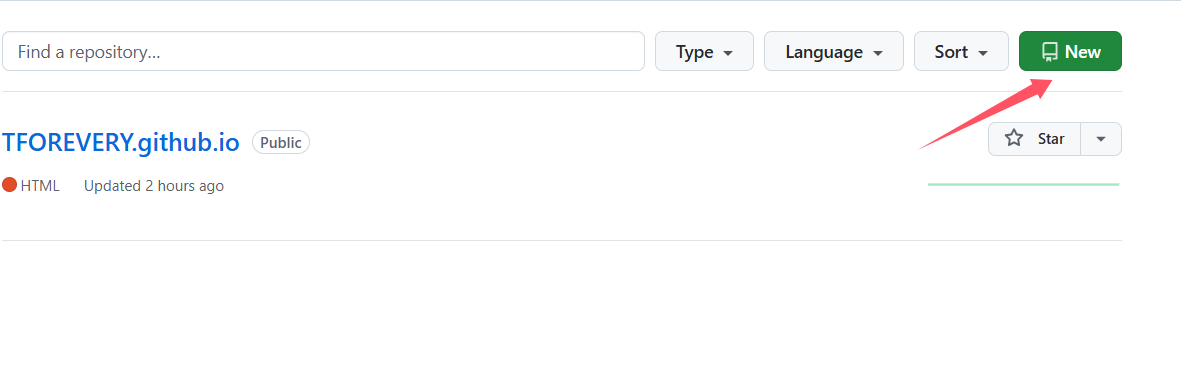
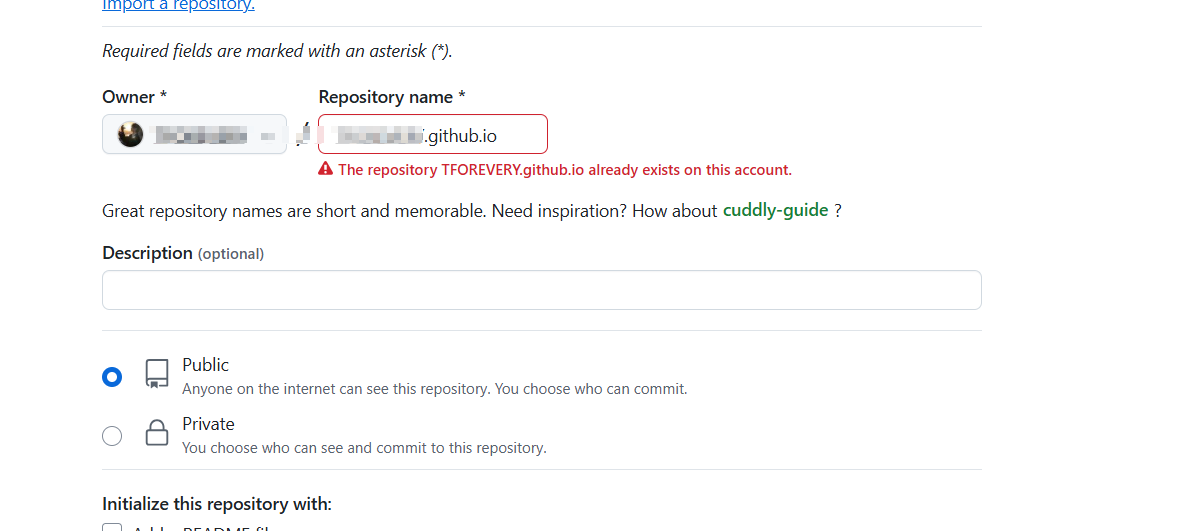
Github
- 创建仓库
Hexo
npm install -g cnpm –registry=https://registry.npm.taobao.org
过期的可以试试 npm install -g cnpm –registry=https://registry.npmmirror.com
可以理解成替换源,之后都用cnpm来实现
cnpm install -g hexo-cli
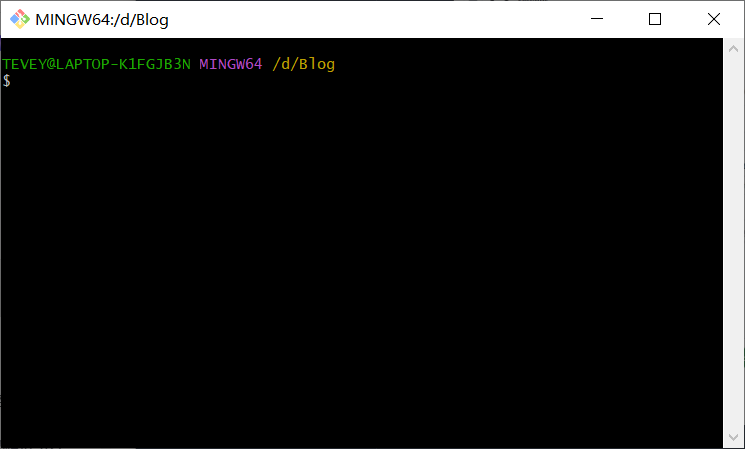
如果已经创建了一个文件夹,那么在这个文件夹下开启git bash
hexo init
如果没有
那么
hexo init <文件夹名字>
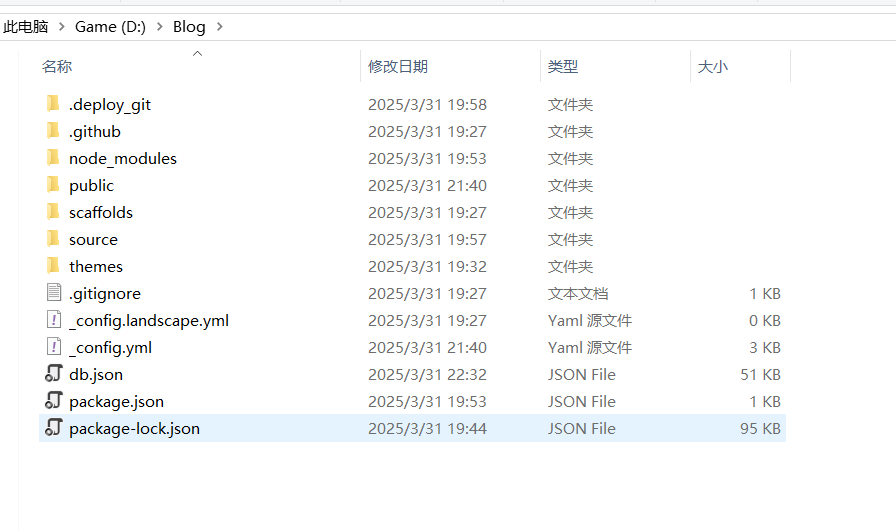
成功后在这个文件夹下会出现许多文件
没成功的话可以去查查,
我这里是git clone失败,代理到clash去即可
git config –global http.proxy “127.0.0.1:7890”
git config –global https.proxy “127.0.0.1:7890”
cnpm install hexo-deployer-git –save
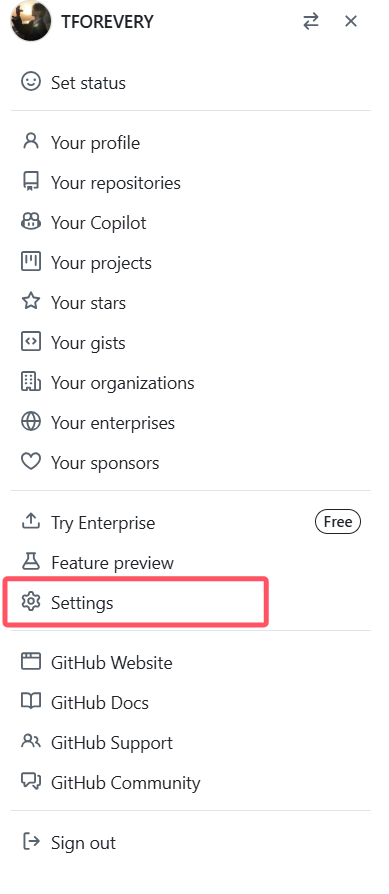
配置ssh
cd ~/.ssh
ssh-keygen -t rsa -C ‘***@qq.com’
会在C:\Users\***\.ssh目录下生成两个文件
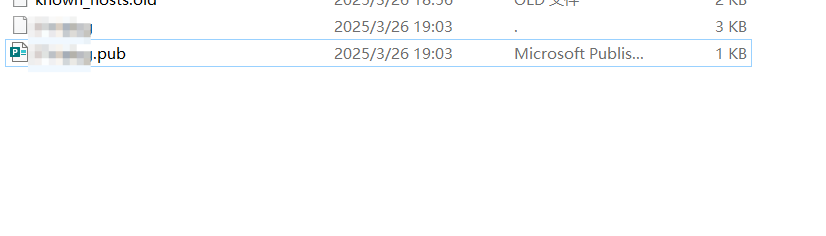
打开.pub文件,复制其内容下来,后边配置要用到
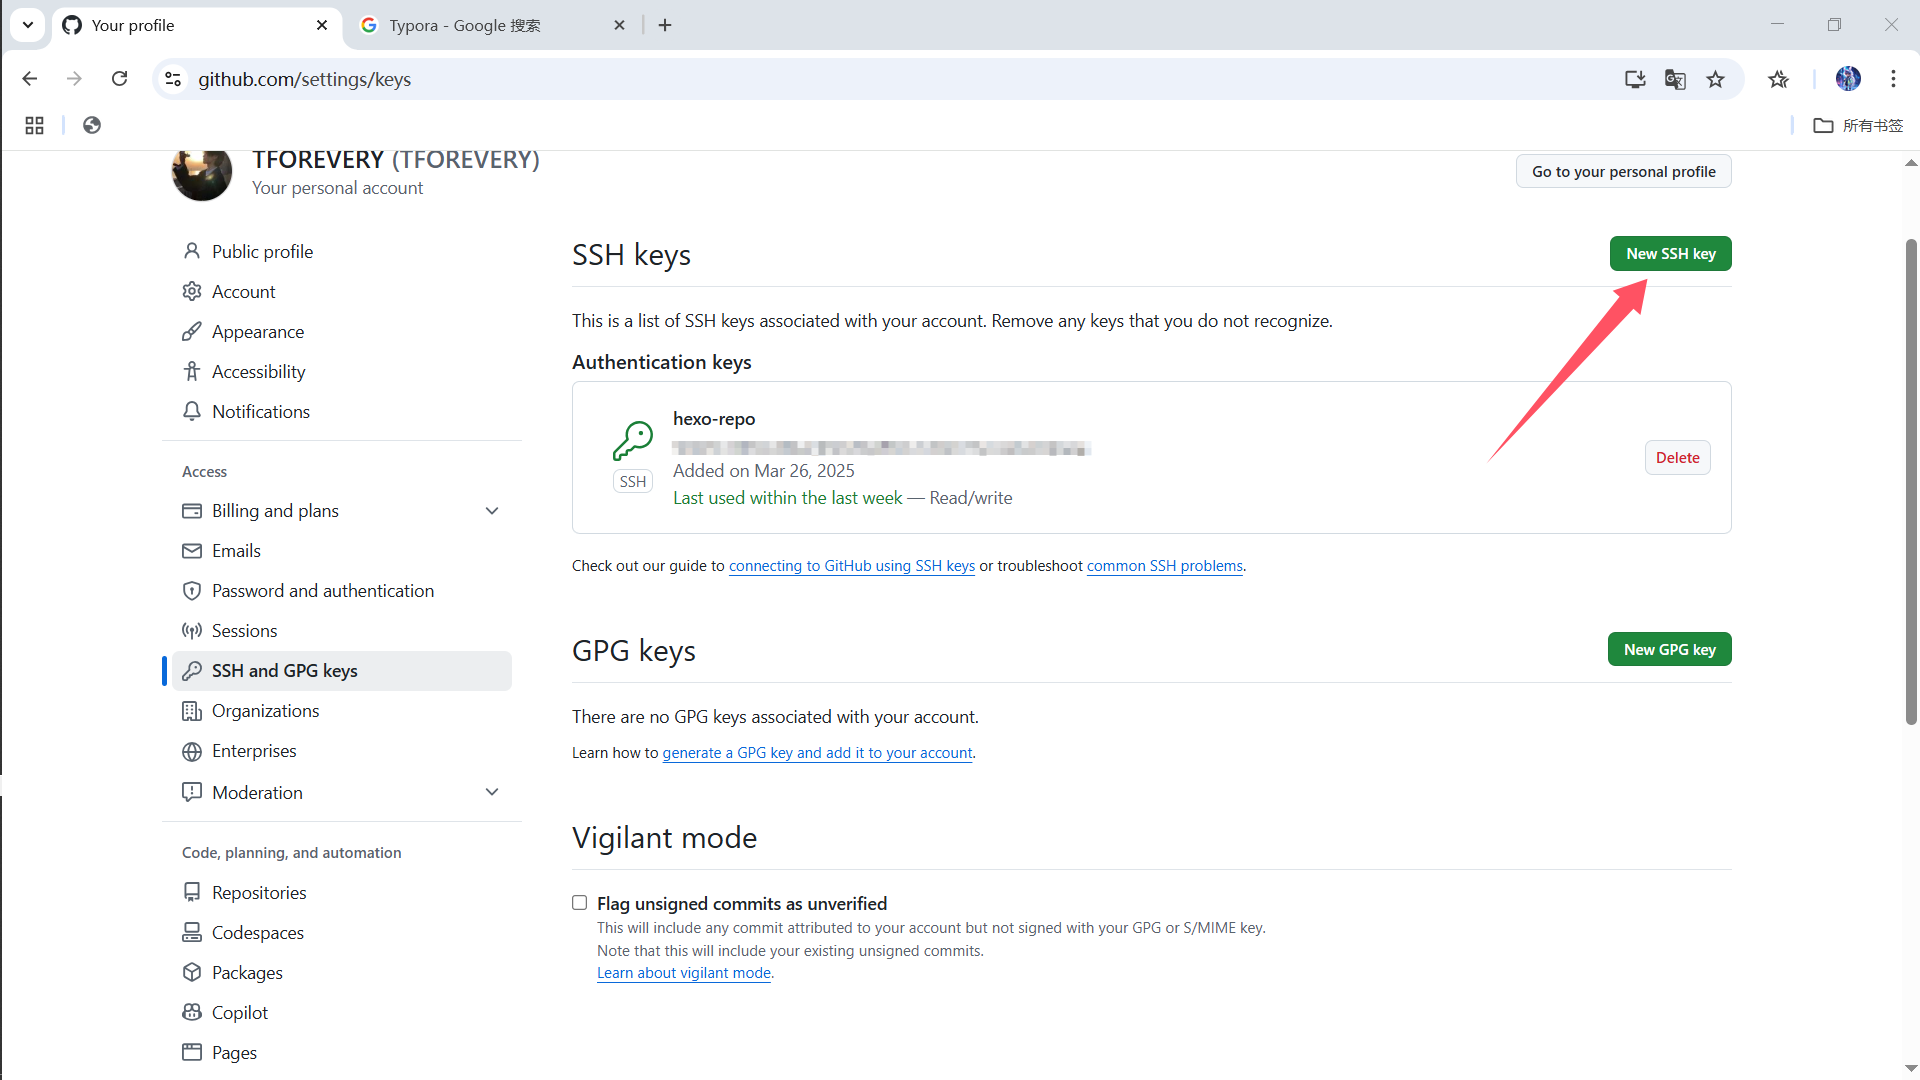
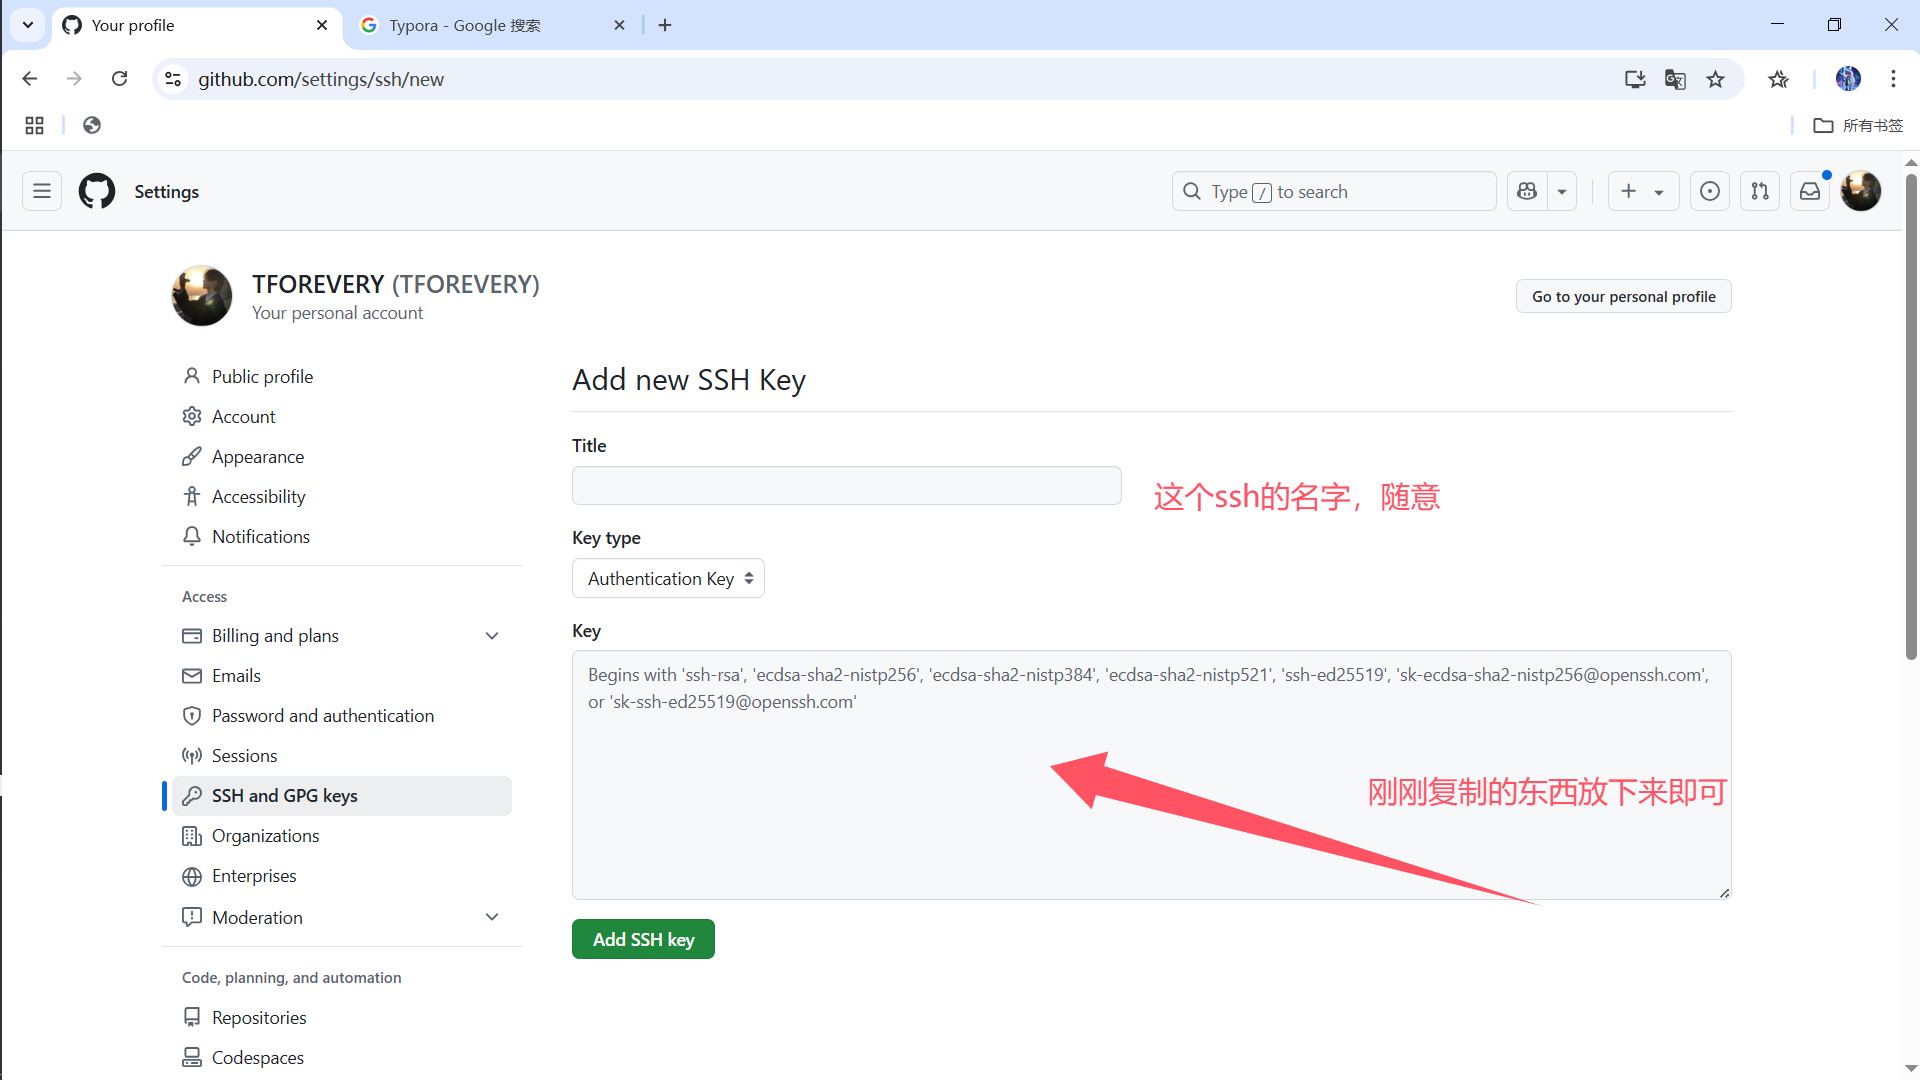
Add后退出,重新进入目录C:\Users\***\.ssh下创建一个文件叫config,内容填下
2
3
4
5Host github.com
Hostname ssh.github.com
PreferredAuthentications publickey
IdentityFile ~/.ssh/<生成key的名字>
Port 443比如我用ssh-keygen -t rsa -C ‘***@qq.com’
生成的名字叫Blog
那么就填
2
3
4
5Host github.com
Hostname ssh.github.com
PreferredAuthentications publickey
IdentityFile ~/.ssh/Blog
Port 443
在hexo初始化的文件夹下打开Git Bash
ssh -T git@github.com
yes
git config –global user.name “Github的用户名“
git config –global user.email “Github的邮箱“
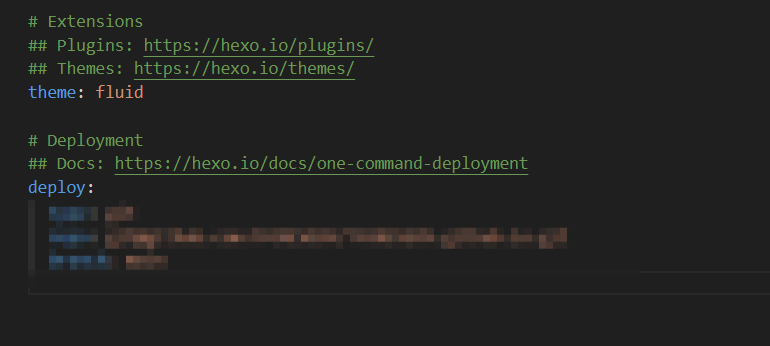
打开hexo初始化下的_config.yml,在最后(如下写入)
2
3
4deploy:
type: git
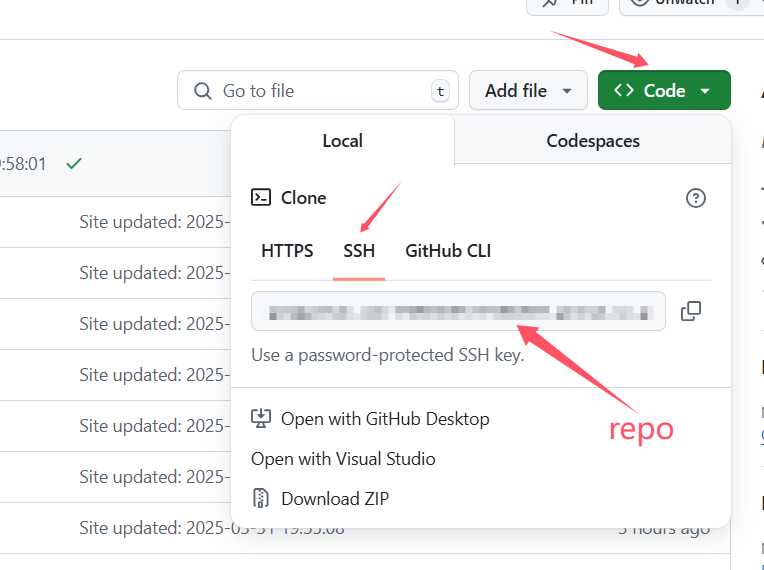
repo: ***
branch: mainrepo的内容从github上弄
使用
预览
hexo s
生成文件
hexo g
部署Github
hexo d
生成文章
hexo new <filename>